Access CareConnect Provider mobile app (iOS and Android) or CareConnect Provider Web.
Billing Plan Template is helpful when you need to create the same plan for multiple students enrolling at different start times but with the same rates and billing cycles. After a Billing Plan Template is created, you can easily use and re-use the saved Billing Plan Template when creating plans. This guide will show you how to create a Plan Template:
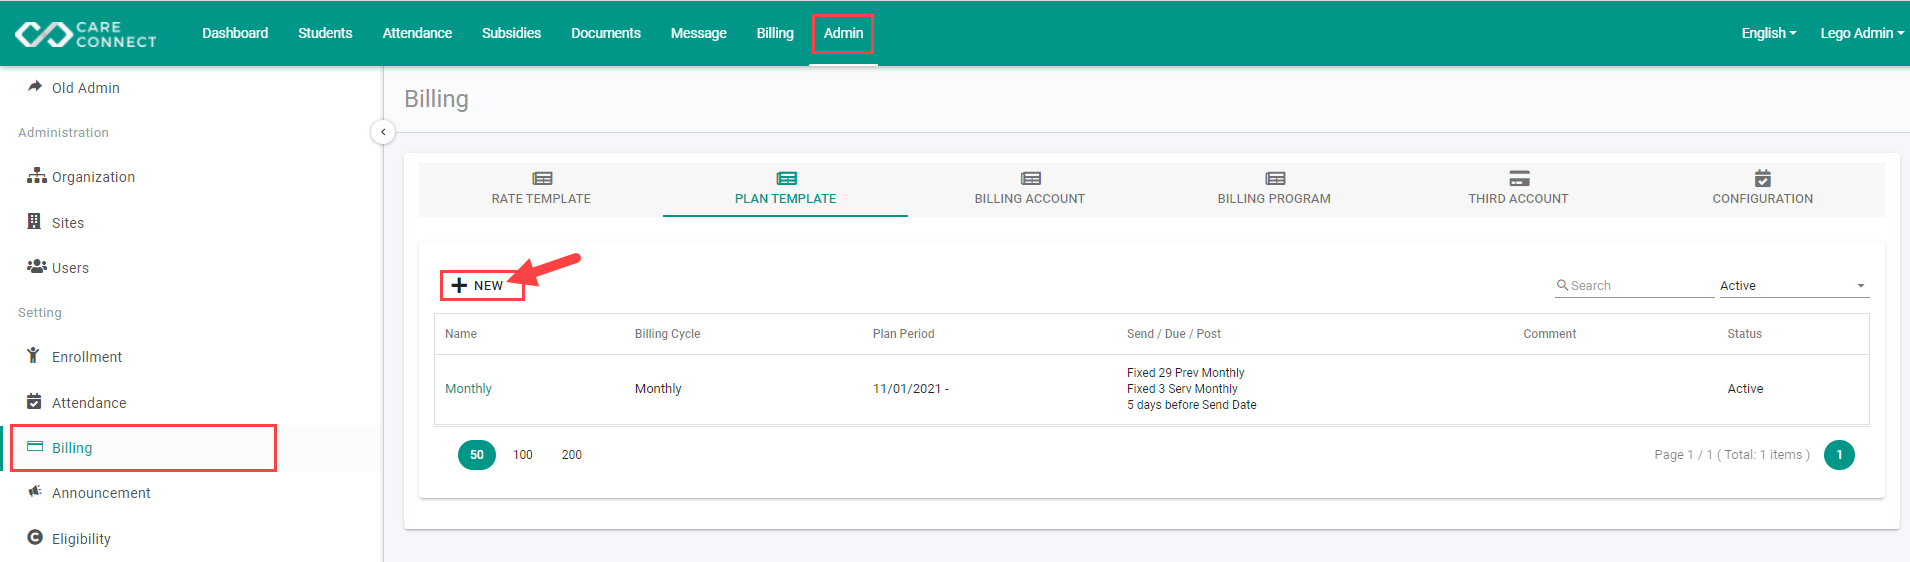
1. Start by accessing the Admin Module → Billing Section → Opening to the Plan Template → Click on ![]() to add a new Plan Template.
to add a new Plan Template.
2. Fill out the details for all required fields marked with the asterisk *
-
- Plan Name: Enter a name for the plan
- TIP: You may enter any plan name of your choice but it is recommended a plan name include billing rates details such as toddlers, infants, part-time, full-time ad the billing cycle to easily identify the plan details just by looking at its name without actually viewing the entire plan details
- Billing Cycle: Select the frequency for the billing plan
- Plan Start/End Date: Specify a period for the billing plan to generate invoices
- TIP: it is recommended to not add a planned date for the template, so you can reuse the same plan template for different students enrolling at different times.
- Invoice Send Date: Select a date when an invoice should be sent to parents
- Invoice Due Date: Select a due deadline date for parents to pay the invoice
- Invoice Post Date: Select a date when the invoice should be generated and posted in CareConnect where you may preview it prior to it being sent to parents
- Post Date selection is in the range of 0-10 days before the Send Date.

- Post Date selection is in the range of 0-10 days before the Send Date.
- Plan Name: Enter a name for the plan
3. Once you've filled out all the information, click on Save to allow this Billing Plan Template to be available for selection when creating a new Billing Plan for different student(s).
Comments
0 comments
Article is closed for comments.